
Last updated November 18, 2026
 Wrought iron
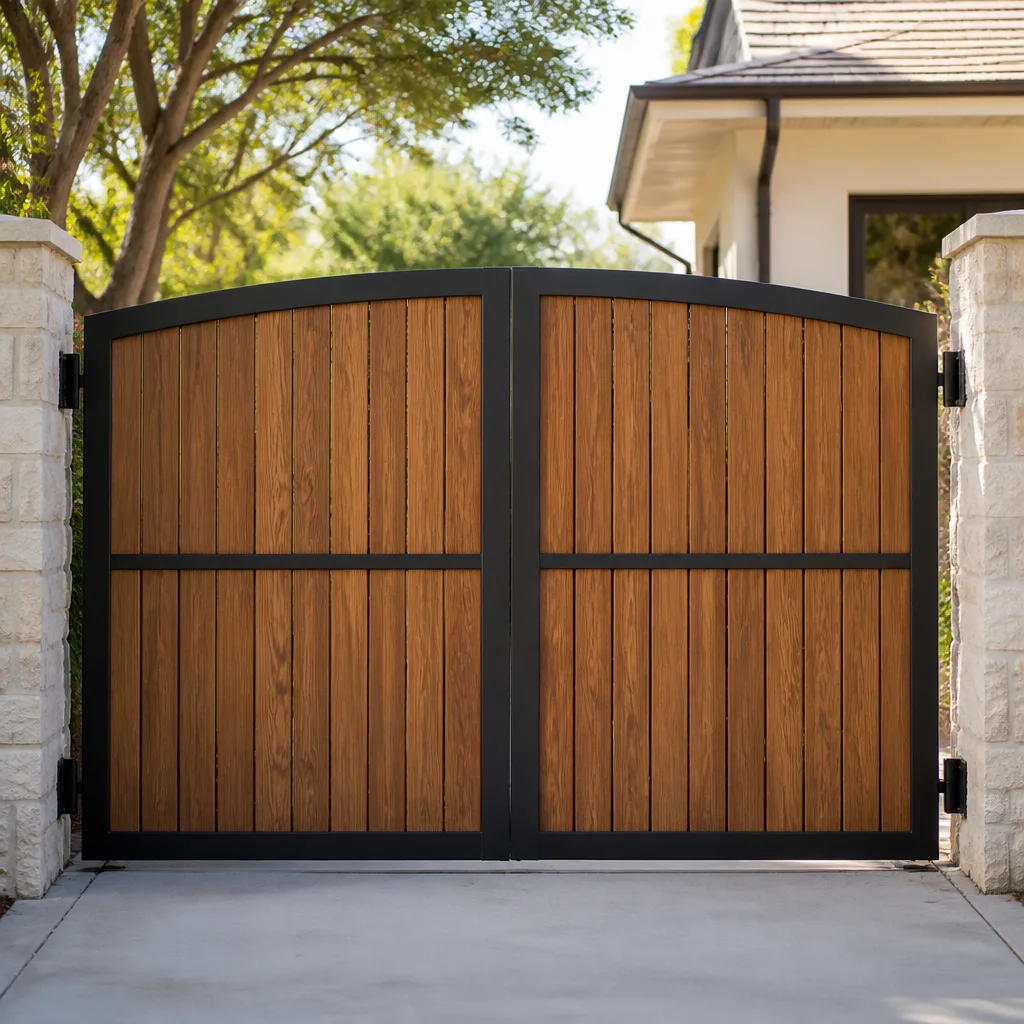 Wood & steel frame
 Farm & ranch
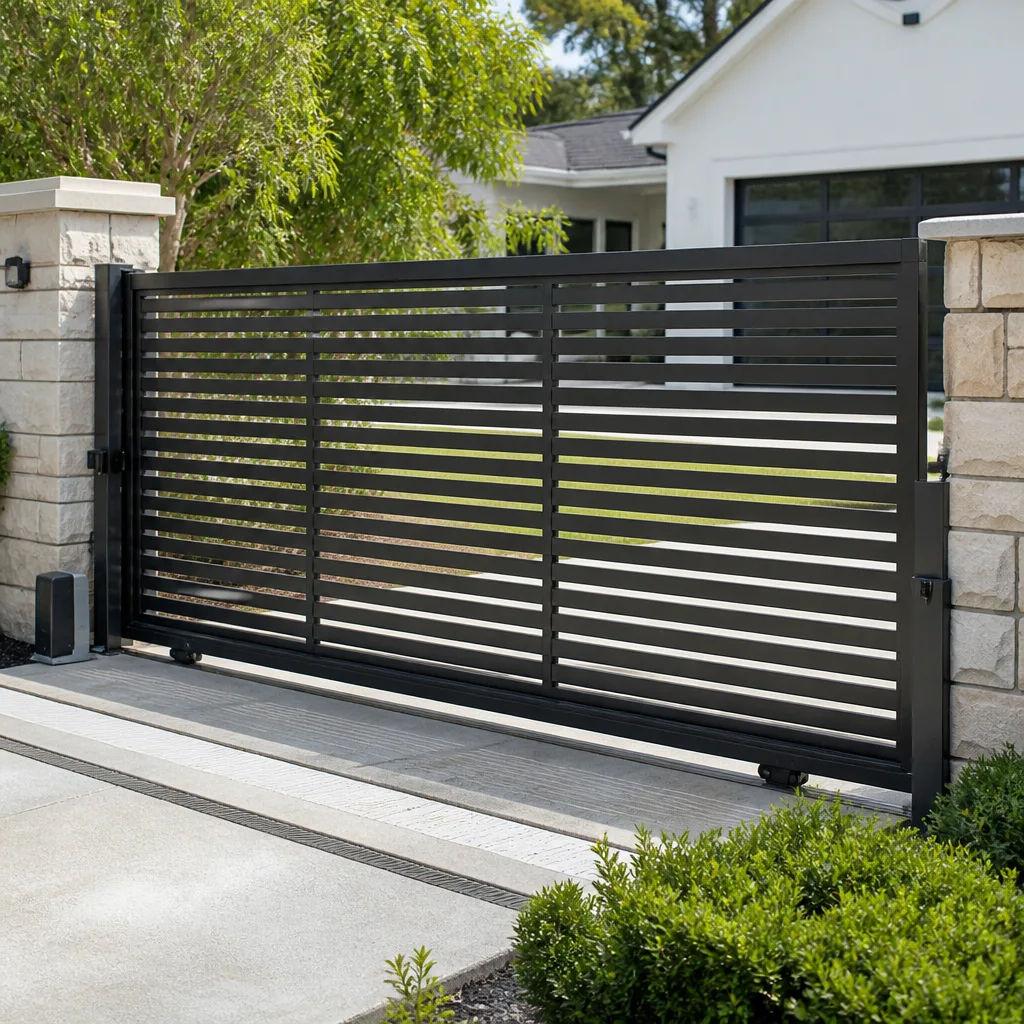 Sliding driveway gates
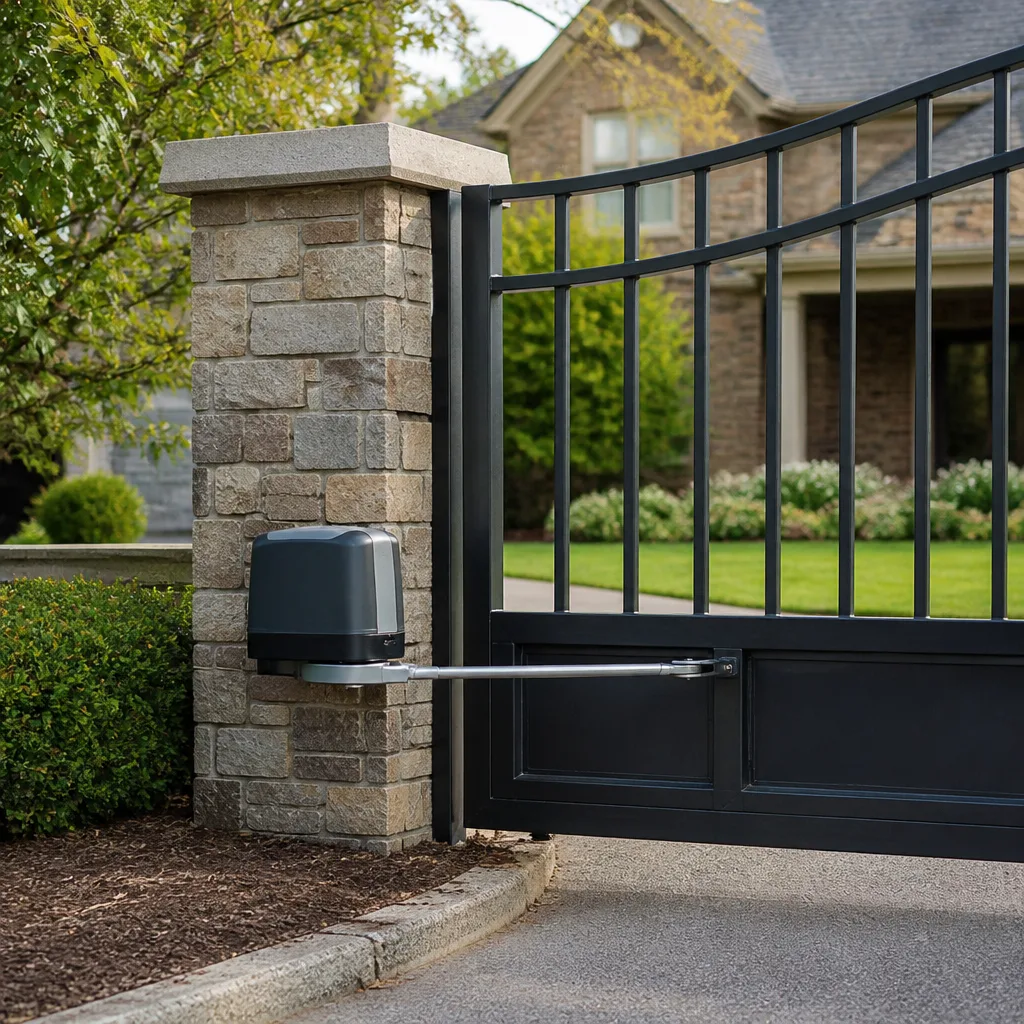 LiftMaster operators
Free on-site gate assessment - hinges, posts, and your LiftMaster or Nice gate operator checked before anything is quoted
The assessment is free and the quote is the invoice.
Get your free estimateGate Installation Warning Signs Every Homeowner Should Know
If a newly installed gate is “just a little slow to close,” that’s not a break-in period. In our experience, it’s usually a misaligned post or an undersized motor, and it will fail within a year. The trouble with gate installation is that the expensive mistakes stay quiet for months. A gate that looked right on install day starts sagging at the eighteen-month mark, binding on the hinges, or tripping the breaker every time the motor runs. By then the installer has cashed the check, and the warranty conversation gets awkward fast. We work on gates across Winchester, and the failures we fix most often were baked in during the original install. This guide teaches you to inspect the work before the crew packs up, not after.
Quick Answer
The most reliable gate installation warning signs are a gate that resists a firm hand-push, posts that are visibly out of plumb or level, exposed or poorly sealed wiring, tack welds instead of full welds, and a crew that leaves without handing over warranty paperwork and opener codes. Any one of these is a shortcut that surfaces as sagging, binding, or electrical failure within a year or two. Catching them at installation costs you nothing; fixing them later costs real money.
Styles & brands we work with
- Wrought iron
- Wood & steel frame
- Farm & ranch
- Sliding driveway gates
- LiftMaster operators
Table of Contents
- The Hand-Push Test: Your Fastest Install Inspection
- Why Post Plumb and Level Matter More Than Anything Else
- Wiring Warning Signs That Predict Electrical Failure
- Reading a Weld: Full Bead vs. Tack Weld
- Is the Motor Sized for Your Gate?
- Winchester Climate and the Two-Season Lean
- The Paperwork You Should Receive at Job Completion
- Your Pre-Departure Inspection Checklist
The Hand-Push Test: Your Fastest Install Inspection
A properly balanced automated gate should move smoothly by hand with minimal resistance. That’s the whole test. With the motor disengaged (most openers have a manual release lever or key), push the gate open and closed yourself. It should glide. If you feel resistance, dragging, or a hitch partway through the swing, the motor is going to spend every cycle compensating for a structural flaw. That compensating wears out gears, strains the operator, and eventually leaves you with a gate that won’t open on a Saturday morning.
Here’s what to feel for:
- Smooth through the full arc: open, close, open again. No sticking points.
- No side-to-side wobble: a wobbling gate means a loose hinge or a post that’s already shifting.
- No scraping at the bottom: a gate that drags on the ground or the track is out of alignment.
- Even effort both directions: if it’s much harder one way, the geometry is off.
If your gate passes the hand-push easily, the install is at least structurally sound. If it doesn’t, ask the crew to correct it before they leave. That conversation is easy on install day and much harder three months later. This is the single test we run first on any gate repair in Winchester call, because it tells us in thirty seconds whether we’re looking at a motor problem or a structural one.
Why Post Plumb and Level Matter More Than Anything Else
A gate hangs from its posts. If a post is off plumb, even by a degree, everything above it is fighting gravity. That one-degree lean looks fine on install day. Within two seasons it becomes a two-inch gap at the top of the gate, because a lean compounds as the post settles. The gap lets the gate rack (twist out of square), which stresses the hinges and the motor. By the time you notice the gap, the fix is re-setting the posts, not adjusting a hinge.
A plumb and level check is quick and visual. You don’t need tools to spot the obvious problems:
- Look down the post from the top. It should be perfectly vertical in both directions. If it leans in or out, or side to side, it’s not plumb.
- Check the gate’s top rail against a level line. The top of the gate should be horizontal. A rail that slopes means the posts aren’t level with each other.
- Open the gate halfway and look at the gap between gate and post. The gap should stay consistent through the swing. A gap that narrows or widens means a post is out of alignment.
- Inspect the footing. Posts should be set in concrete, not just driven or set in gravel. Ask what the footings are.
In Winchester, our soil and temperature swings make post-setting especially unforgiving. A post that’s a hair off plumb on install day will be visibly leaning after a couple of winters. This is the reason we spend more time on post-setting than most crews do. Get the posts right and the gate lasts. Get them wrong and you’re calling us for a gate installation in Winchester re-do within two years.
Wiring Warning Signs That Predict Electrical Failure
The wiring on an automatic gate is the part homeowners never look at, and it’s where the cheapest shortcuts live. A gate that runs perfectly for six months and then starts tripping the breaker or losing its limits almost always has a wiring problem underneath. Here’s what to look for before the crew leaves:
- Exposed conduit: wiring should be inside conduit, and that conduit should be properly secured and sealed at the ends. Conduit that’s loose, cracked, or missing end-fittings lets water in.
- Wire nuts instead of weatherproof connectors: wire nuts are for interior junction boxes. Outdoors they corrode. Proper weatherproof connectors or gel-filled splices are the correct choice. If you see bare wire nuts on an outdoor gate, that’s a failure waiting to happen.
- Transformers zip-tied to fence posts: a transformer dangling from a zip tie is not a mount. It should be properly fastened and protected from weather and physical damage.
- Loose or buried-in-dirt cable: low-voltage cable should run in conduit or be rated for direct burial. Cable stapled to a fence board or lying on the ground is a problem.
- No drip loops: where wiring enters a control box or operator, there should be a drip loop (a low point in the wire) so water runs off instead of into the electronics.
Ask the crew where the low-voltage wire runs and how the connections are sealed. A good installer will show you without hesitation. This is exactly the kind of issue that shows up later as a gate motor and opener in Winchester service call, when the real fix was proper connections on install day.
Reading a Weld: Full Bead vs. Tack Weld
A gate frame takes a beating. Every open and close flexes the joints a little, and in Winchester’s temperature swings the metal expands and contracts daily. A full weld runs the length of the joint and carries that stress. A tack weld is a small spot of weld at the corner, and it will crack under daily cycle stress. It might hold for a year. Then the crack starts, the joint loosens, and the frame starts racking.
You don’t need welding experience to tell the difference. Look closely at the joints:
- Full bead: a continuous, even line of weld along the joint, with a slight raised profile. It looks intentional and complete.
- Tack weld: small, isolated blobs at the corners or ends, with bare unwelded metal between them.
- Grinding to hide gaps: a joint that’s been ground perfectly smooth can hide an underlying tack. Ask to see a joint before it’s finished, or look at the inside corners where grinding is awkward.
- Rust at the joint: even new gates can show rust lines at a joint within months if the weld is incomplete, because water gets into the gap.
For a driveway gate in Winchester, every structural joint should be fully welded. Hinge and latch points especially. A fine gate is a piece of ironwork, and the welds are where the craft shows. If the welds look like spots rather than lines, ask the installer why.
Is the Motor Sized for Your Gate?
An undersized motor is one of the most common installations we correct. The motor has to overcome the gate’s weight, its swing resistance, and wind load. If it’s sized for a lighter gate than the one you have, it runs hot, struggles on windy days, and dies early. A motor that “keeps trying” on a windy day isn’t being cautious; it’s asking for a premature failure.
Here’s how to check the sizing conversation:
- Ask the installer to show you the motor’s rated gate weight. Every operator has a spec sheet. Your gate’s weight should be comfortably below the max rating, not right at it.
- Ask about wind load. A solid wood or metal gate catches wind like a sail. The motor and the hinges must handle it. If your gate is solid and the motor is near its weight limit, it’s undersized for your site.
- Match the brand to the job. We’re trained and equipped on nine gate-automation brands, including BFT, Linear, Viking, and Ghost Controls, because the right operator depends on the gate, its weight, and how it’s used. A one-size recommendation is a shortcut.
- Listen on a windy day. A correctly sized motor opens smoothly even when the gate catches wind. A strained motor sounds labored and may reverse partway.
This is where brand familiarity pays off. When a crew knows several operators well, they pick the one that fits your gate instead of the one that’s cheapest to buy. That’s how the Ironworks Gate Co. Winchester home team approaches automation: match the motor to the gate, then teach the homeowner the manual release so they’re never stuck.
Winchester Climate and the Two-Season Lean
Winchester’s climate is hard on gates in a way that doesn’t show up in the first month. Our hot summers and cool nights drive metal expansion and contraction every day. Our occasional cold snaps and rain push water into every gap. And our soil moves with the moisture, which is why a post that was plumb on install day can lean within two seasons if it wasn’t set in adequate concrete footing.
What that means for your install inspection:
- Look for proper footings. Ask what depth and diameter the concrete footings are. A post that’s simply set in the ground or gravel will move.
- Check for drainage. Water pooling around a post footing softens the soil. Ask where runoff goes.
- Expect expansion joints in long runs. A long gate or fence line needs room to move with temperature. A rigid install that ignores this cracks at the welds.
- Confirm weatherproofing on all electrical. Our temperature swings and rain are exactly why the wiring shortcuts above matter here. An outdoor connection that’s fine in a dry climate fails here.
We’ve seen this pattern on installations across Winchester neighborhoods, and it’s the reason the “two-season lean” is a known problem. A gate that’s still plumb and operating smoothly after two of our summers and winters was installed correctly. One that’s already leaning needs attention before the lean becomes a structural failure.
The Paperwork You Should Receive at Job Completion
A reputable installer leaves you with documentation. This is the part homeowners forget to ask for, and it’s the part that matters most if something goes wrong. Before the crew packs up, make sure you have:
- Warranty paperwork: the written warranty in hand, not a verbal promise. It should state what’s covered, for how long, and how to make a claim. Our own written 90-Day Done Right Promise is an example of how this should read: if it isn’t right, we come back and make it right, no arguing.
- Opener programming codes and instructions: the models and codes for your operator, plus how to use the manual release. If you ever need to open the gate by hand, you should know how.
- A written post-install inspection checklist: a record of what was checked and confirmed (post plumb, gate level, hand-push test, wiring sealed, motor limits set). It’s your proof the job was done to a standard.
- Manufacturer documentation: the operator manual and any remote or keypad documentation.
- Contact and service info: who to call for service and the process for a warranty claim.
If you don’t receive these, ask. An installer who can’t produce warranty paperwork and programming codes is telling you something about how they’ll handle a problem later.
Your Pre-Departure Inspection Checklist
Walk the job before the crew leaves. This takes ten minutes and it’s the most valuable time you’ll spend on the whole project. Here’s the sequence we recommend:
- Hand-push the gate with the motor disengaged. Smooth, minimal resistance, full swing both directions.
- Check the posts for plumb and the top rail for level. No lean, no slope.
- Inspect every weld at the joints, hinges, and latch points. Full beads, not spots.
- Trace the wiring from operator to control box. Conduit sealed, weatherproof connectors, no wire nuts, drip loops in place.
- Confirm motor sizing against your gate’s weight and wind exposure.
- Test the manual release and learn how to use it.
- Cycle the gate open and closed several times. Confirm the safety edges and auto-reverse work.
- Collect the paperwork: warranty, codes, checklist, manuals.
If any item fails, don’t sign off. Ask for it to be corrected. This checklist is what separates an install you’ll never think about again from one that becomes a service call in eighteen months.
Common Mistakes to Avoid
- Signing off without the hand-push test. A gate that resists a hand-push is compensating for a structural flaw, and the motor pays the price.
- Accepting a “little slow to close” gate. In our experience, that’s a misaligned post or an undersized motor, not a break-in period. It will fail within a year.
- Assuming wire nuts are fine outdoors. They corrode in Winchester’s wet weather and cause electrical failures months later.
- Taking a verbal warranty. A warranty you can’t read isn’t a warranty. Get it in writing.
- Ignoring the footing question. A post set in gravel instead of concrete will lean with Winchester’s soil movement.
- Skipping the manual release lesson. If you don’t know how to open your gate by hand, a motor failure locks you in.
- Forgetting the programming codes. Without them, you can’t add a remote or keypad, or reset the operator if it loses its limits.
See the difference
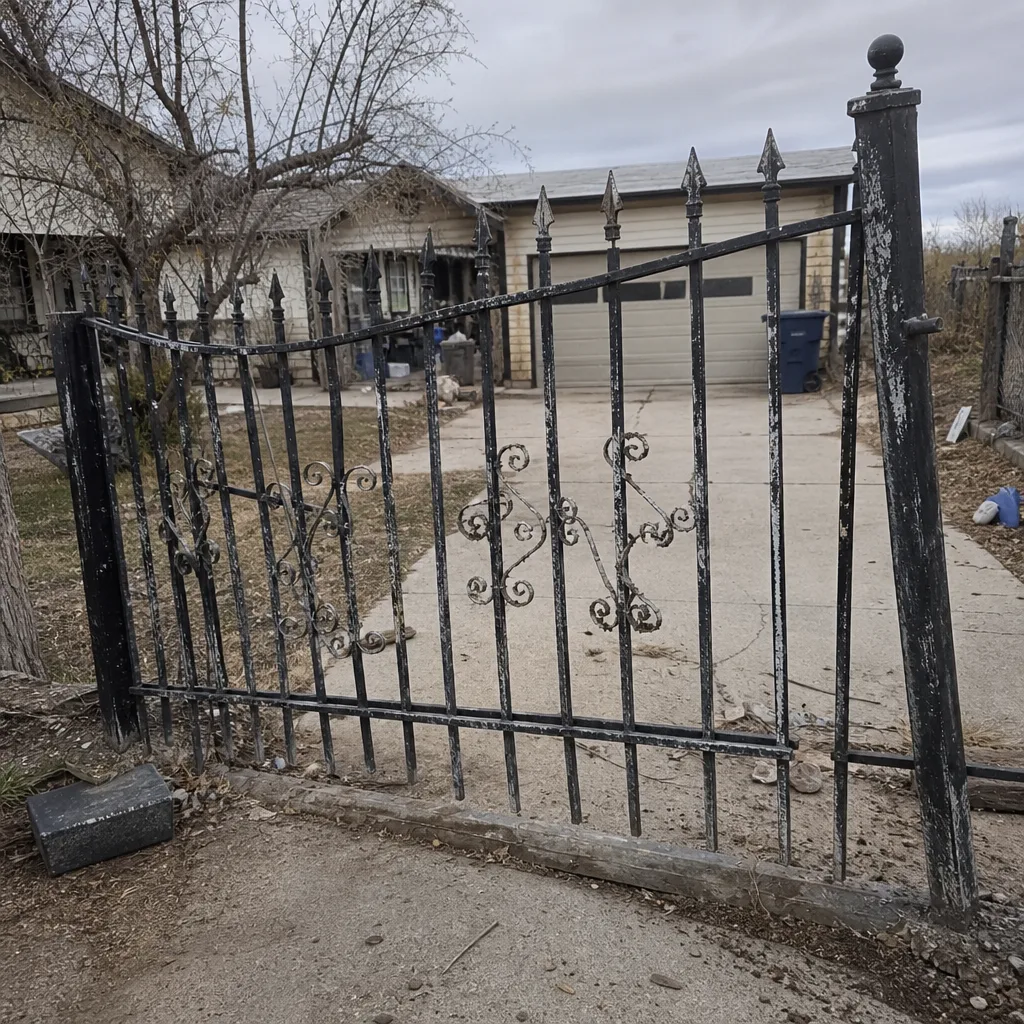 Before
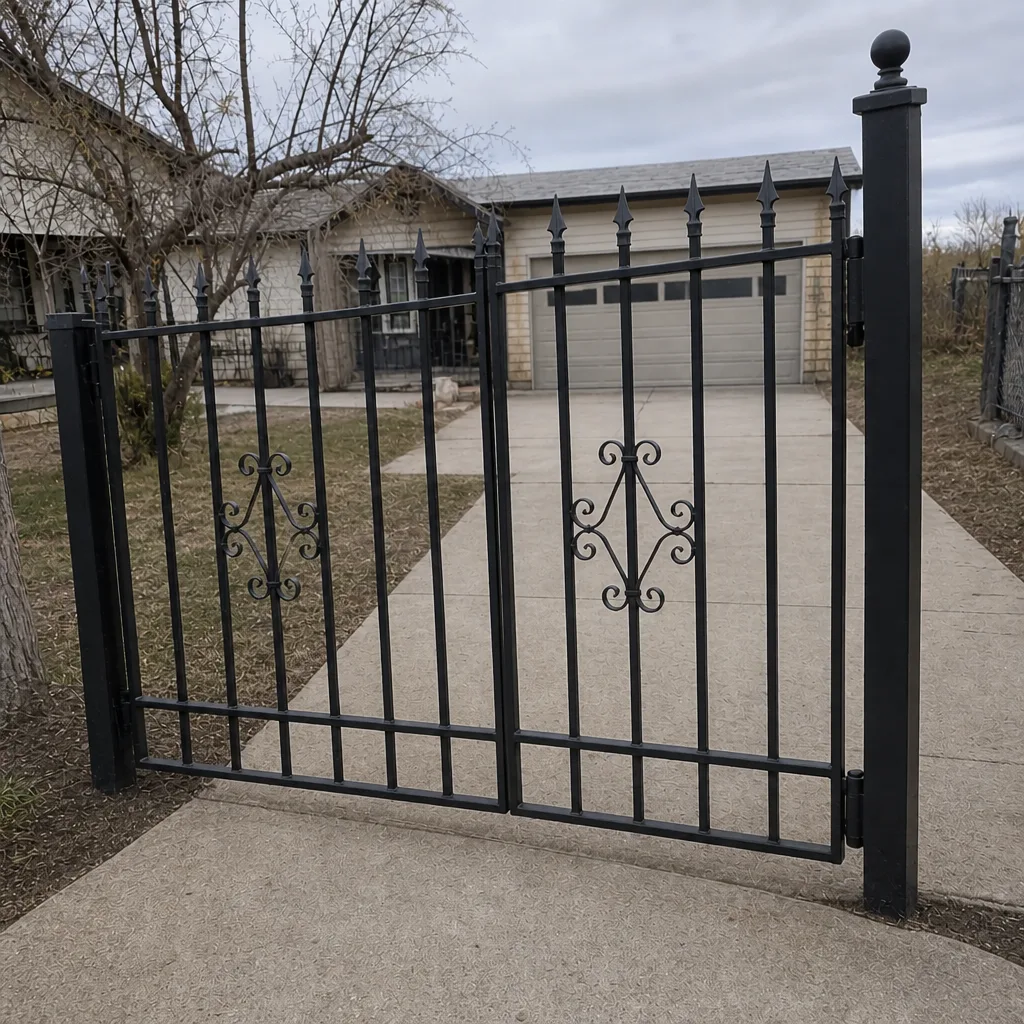 After
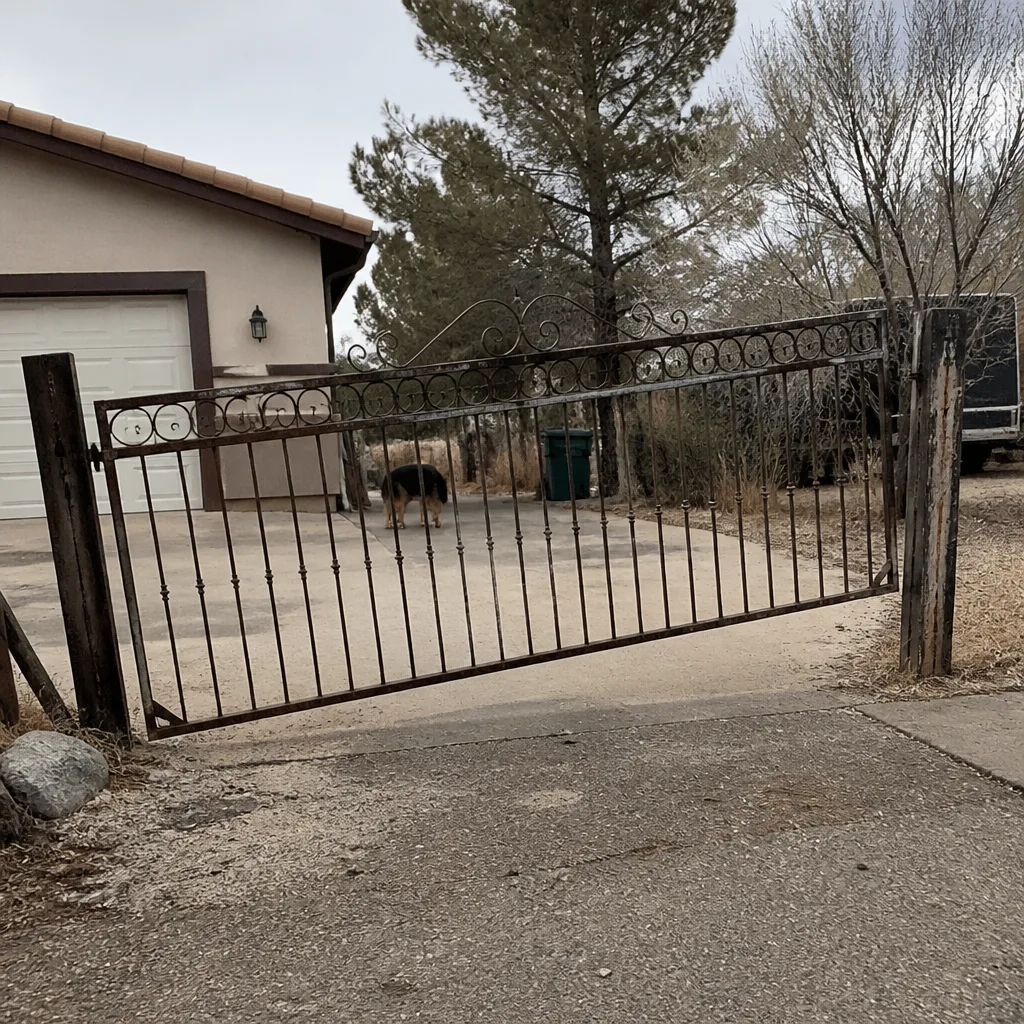 Before
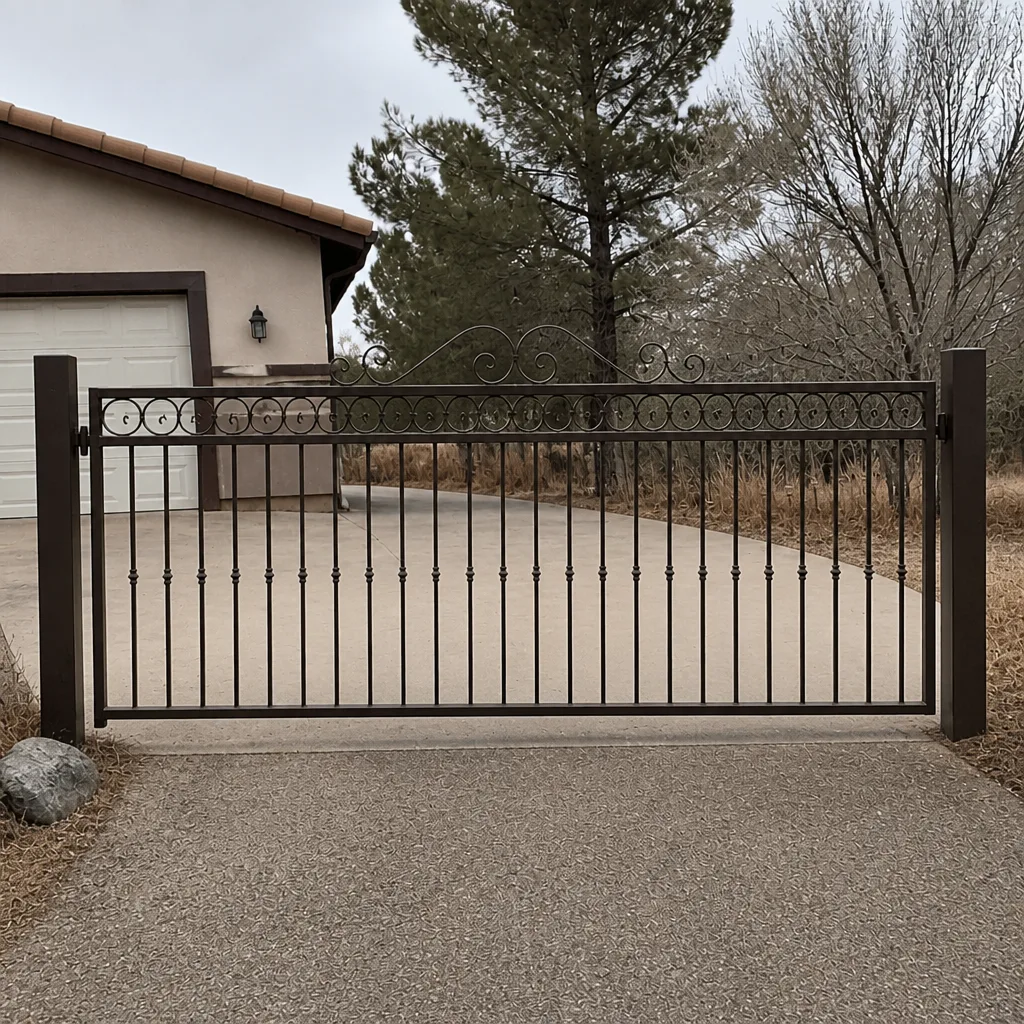 After
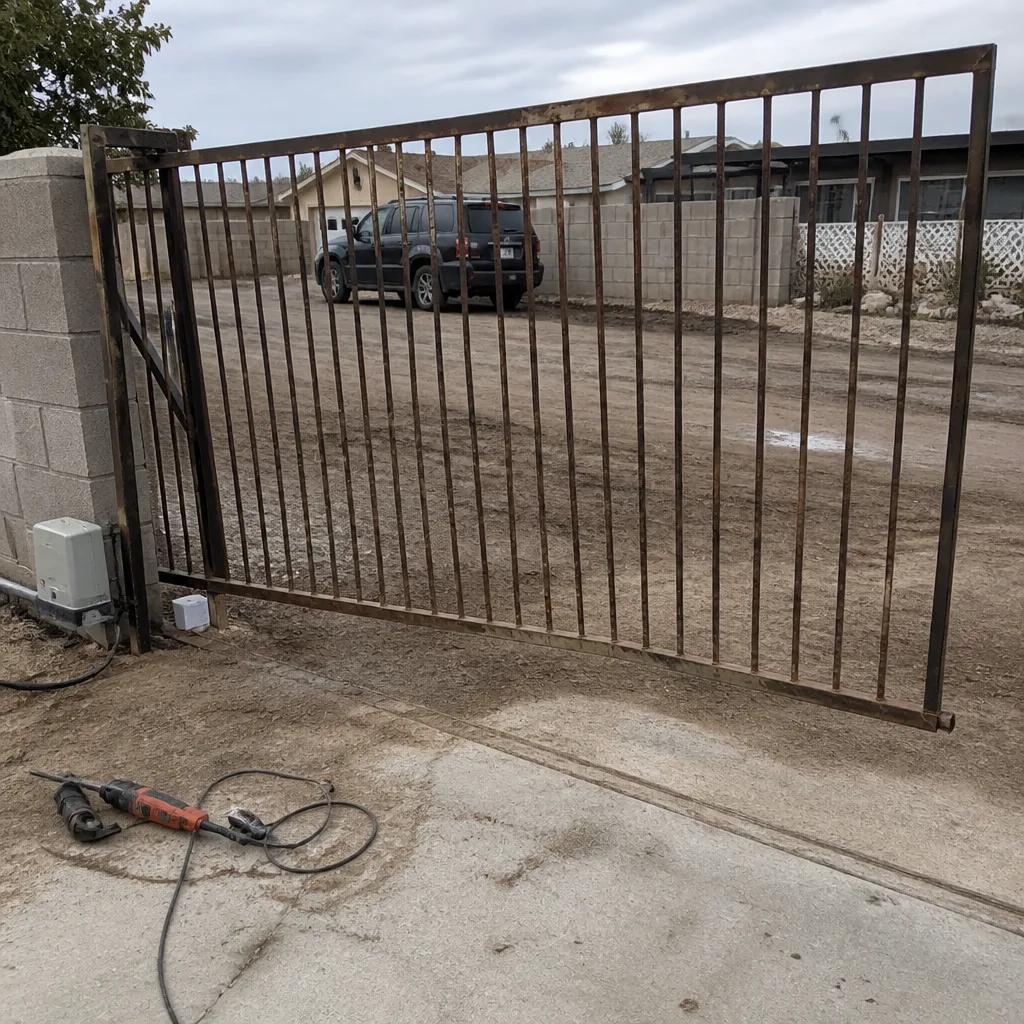 Before
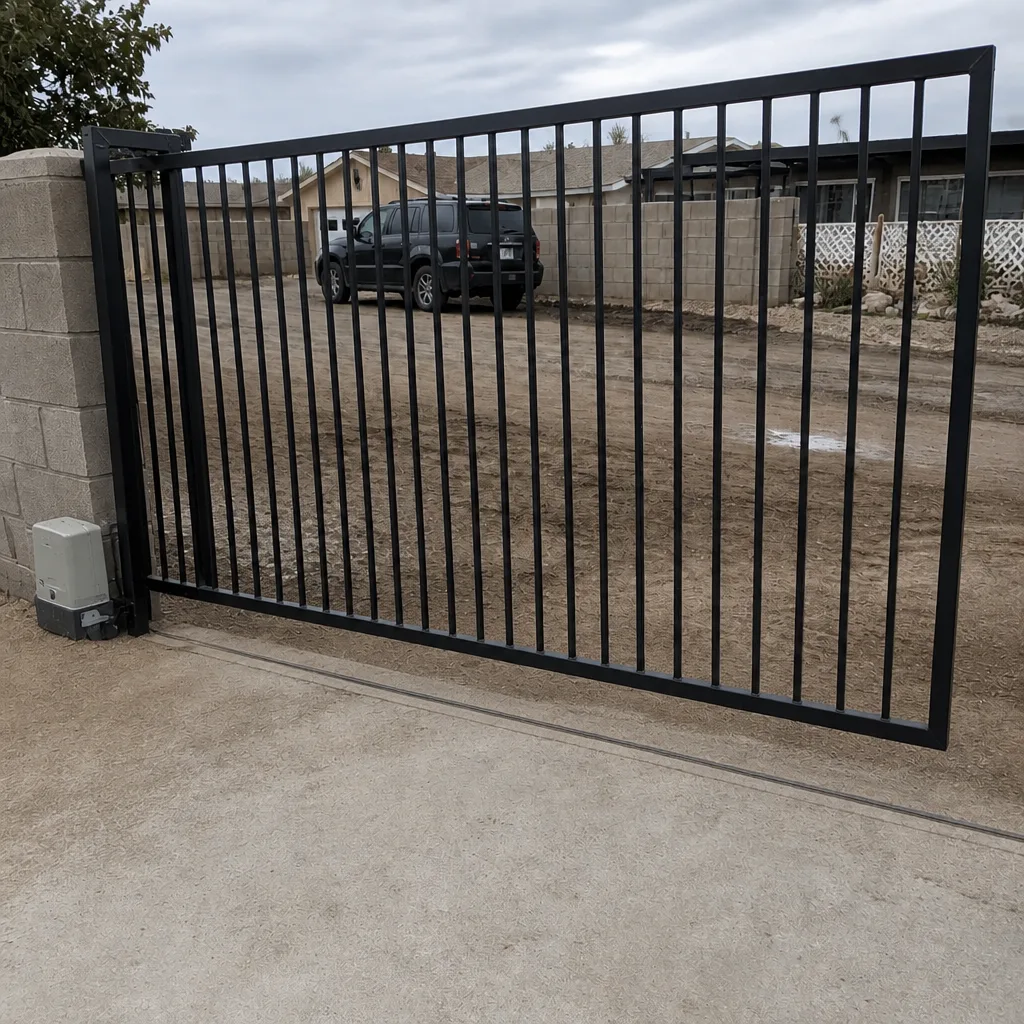 After
When to Call a Professional
Some of these checks you can do yourself. Others need a trained eye. Call a professional if you see a post leaning, a weld that looks like spots rather than a line, exposed or wire-nut connections on outdoor wiring, or a motor that strains or reverses on windy days. Those are structural and electrical issues that get worse with use, and a repair today is cheaper than a re-do later. Gate automation also involves genuine electrical hazard; don’t open a control box or work on the wiring yourself. Ironworks Gate Co. Winchester offers free estimates in Winchester, and we’ll inspect an existing install and tell you plainly what needs attention. Call (866) 984-8340. Our technicians have up to 13 years of experience, and every job is backed by our written 90-Day Done Right Promise.
Frequently Asked Questions
The hand-push test. Disengage the motor and push the gate yourself; it should move smoothly with minimal resistance. Any resistance means the motor is compensating for a structural flaw that will surface within a year or two.
Usually six to eighteen months. The most common are the two-season lean on posts that weren’t set in proper concrete footing, binding from tack welds cracking under temperature swings, and electrical failures from outdoor connections that corroded.
Yes. A one-degree lean that looks fine on install day compounds as the post settles, and it can create a two-inch gap at the top of the gate within two seasons. The gap racks the gate and stresses the hinges and motor.
You should receive the written warranty, the operator models and programming codes, a written post-install inspection checklist, the manufacturer manuals, and the service contact information. Ask for all of it before the crew leaves.
If you spot a leaning post, an incomplete weld, exposed wiring, or a motor that strains, yes. Those are structural and electrical issues, and electrical work on gate automation should only be done by a trained technician. Call (866) 984-8340 for a free estimate in Winchester.
That depends entirely on the warranty. A written guarantee means the installer returns and makes it right. A verbal promise is much harder to enforce. Our written 90-Day Done Right Promise covers this in plain language, and we stand behind it on every job.
The Bottom Line
Gate installation problems almost never show up on day one. They show up six months or eighteen months later as sagging, binding, or electrical failure, and they trace directly back to shortcuts taken during the original install. The good news is that the signs are visible if you know what to look for: the hand-push test, post plumb and level, proper wiring connections, full welds, correct motor sizing, and a complete paperwork package. Inspect the work before the crew packs up. That single habit is what separates a gate you’ll never think about again from one that becomes a phone call. If you’d rather have an experienced eye on it, we’re glad to look.
Call (866) 984-8340 for a free estimate in Winchester. A live person answers every call, 24 hours a day, 7 days a week. We’ll inspect the gate, explain what we find, and give you a written upfront price before any work begins. Ask about our $50 off any repair over $250, the free second opinion on any written estimate, our $89 seasonal tune-up, and the permanent 5% senior and veteran discount. Done right, and backed in writing.
Written by the team at Ironworks Gate Co. Winchester.